About the DS200TCQEG2A
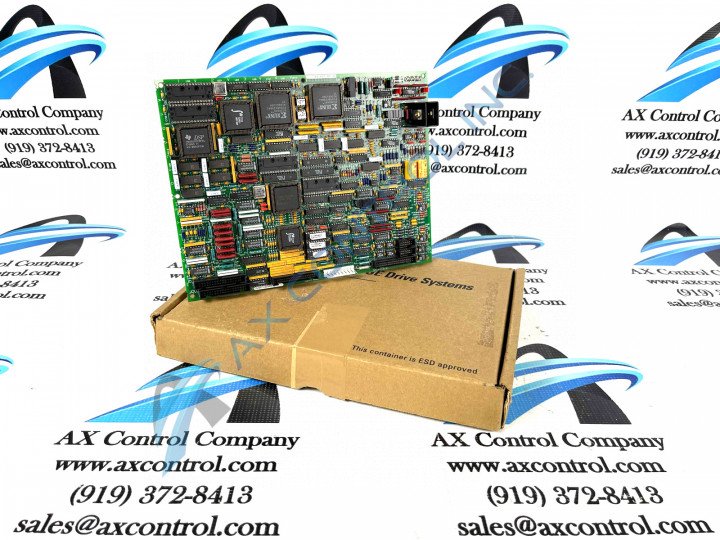
This DS200TCQEG2A printed circuit board was originally manufactured, as expressed above, by General Electric, for placement in their Mark V Turbine Control System Series. The Mark V Series that this DS200TCQEG2A PCB belongs to, as you may have been able to guess based on its full extended series name, has specific applications in the control and management systems of compatible wind, steam, and gas turbine automated drive assemblies, although it has to be considered a legacy product series due to its obsolescence-necessitated manufacturing discontinuation that took place in the many years since its original conception. While this DS200TCQEG2A printed circuit board is definable as an LM6000 I/O Processor Board in its own right, it is not the original product of this Mark V Series functionality; that would be the DS200TCQEG2 parent LM6000 I/O Processor Board missing this DS200TCQEG2A product offering's A-rated functional product revision. This DS200TCQEG2A printed circuit board's greater Mark V Series, while a legacy product series, is still well-updated given its status as one of the final General Electric product series to make use of the patented Speedtronic control system technology. This DS200TCQEG2A PCB's description as an LM6000 I/O Processor Board seems to assert this DS200TCQEG2A PCB's additional status within the Mark V's LM6000 subseries.
Hardware Tips and Specifications
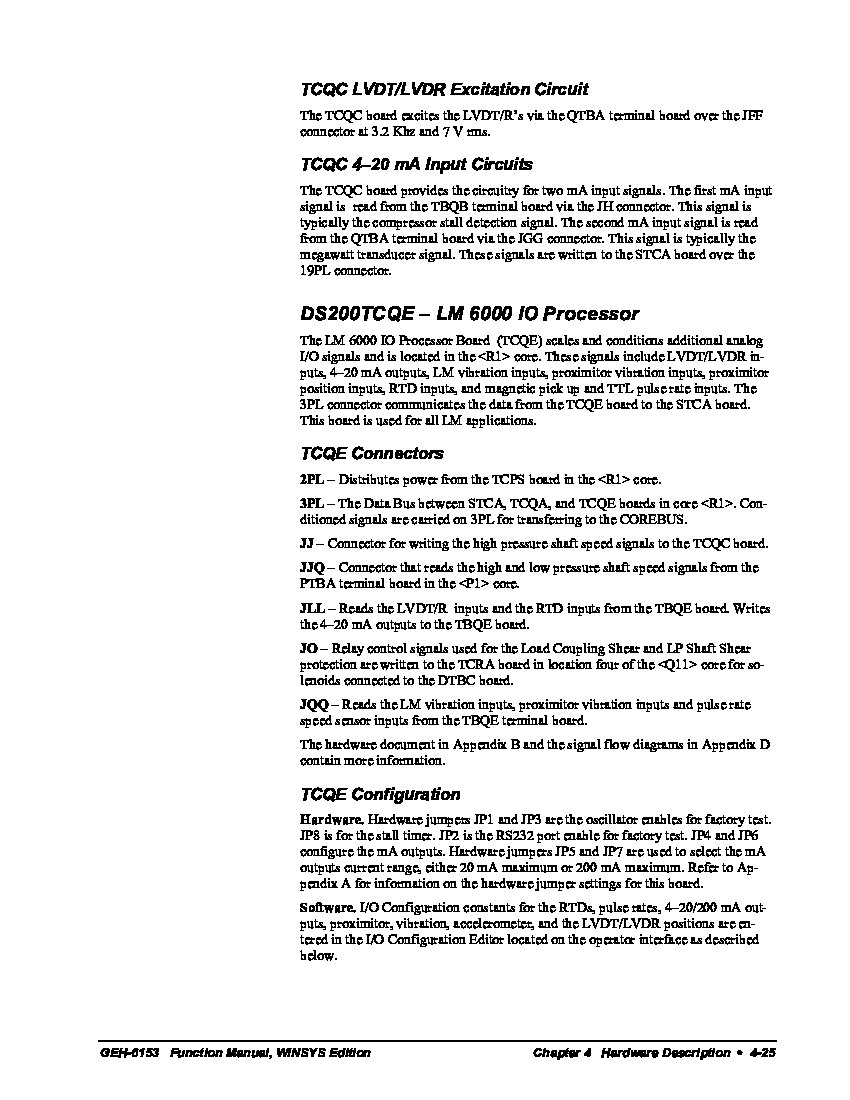
The LM6000 I/O Processor Board DS200TCQEG2A is populated with 8 jumpers and 4 34-pin connectors. It also features one programmable logic device and multiple erasable programmable read-only memory modules (EPROMs). The IDs assigned to the 34-pin connectors are JQQ, 3PL, and JLL. The LM6000 I/O Processor Board DS200TCQEG2A also is populated with one LED that is mounted horizontally on the board. In terms of voltage limitation and suppression. this DS200TCQEG2A printed circuit board's voltage protections are handled by its internal assembly's adoption of a specific series of voltage-limiting hardware components standardized to the Mark V Series; including various rectifiers, capacitors, and integrated circuits. Luckily for the sake of this DS200TCQEG2A personalized product page, the DS200TCQEG2A PCB's internet-available instructional manual materials list all of its available connectors with contextual information about their functionality. Some of this DS200TCQEG2A PCB's connectors include:
- The 2PL TCPS Power Distribution Connector
- The 3PL Various Boards Data Bus Connector
- The JJ TCQC Board Shaft Speed Signals Connector
- The JJQ PTBA Board Shaft Speed Signals Connector
- The JLL TBQE Board Input Signals Connector
- The JO TCRA Board Shear Signals Connector
- The JQQ TBQE Board Input Signals Connector
All of the above connectors in the assembly of this DS200TCQEG2A product have been named through a combination of their specific factory-printed nomenclature labels, their Mark V Series compatible products and interfacing potentials, and finally their specific intended application in terms of the DS200TCQEG2A PCB and its greater Mark V Series automated drive assembly. The EPROMS store code that the microprocessor uses as instructions and processing information. If the site wants the replacement board to behave exactly like the old board, it is best practice to use the same firmware code on the new board as was used previously on the old board. The replacement board comes with the EPROM sockets depopulated and ready for the installation of EPROM modules that you supply. Use a flat head screwdriver to gently pry the EPROM modules from the old board. Place the screwdriver between the socket and one end of the EPROM module and rock the screwdriver back and forth until it is free. Then, insert the screwdriver between the EPROM module and the socket on the other end and repeat the action. Wear a wrist strap to perform this action and place the module directly into a static protective bag. The code and firmware on the modules can be corrupted by static build up so it important to take steps to provide a grounded surface for the static to seek instead of damaging the modules. Keep the modules in a safe place until you are ready to install them.


